|
| Ship's Log - Software |
| 27/07/2015 |
|
Construct2D is an open source preprocessor for building the computational structured grids around wing sections. It may also work for other shapes though. Basically it works on 2D but also has a limited 3D capability by extruding the 3D grid on z axis. The software has no GUI and written in Fortran. Indeed it does not need a GUI and works perfectly and efficiently via the command line. Construct2D can be compiled on different operating systems but I am using it on Linux and my experience is based on that OS only. On Linux the installation procedure is simple and smooth. First of all you need to download the software via https://sourceforge.net/projects/construct2d/ Nevertheless, depending on the Linux version some additional software packages must be exist on the system such as "gfortran", "python-matplotlib" and "python-tk" plus dependents of these three packages. Detaile compiling procedure is available in the user manual. After the compilation the Construct2D executable will be placed in the Construct2D directory and it can be run with "./construct2d" command.
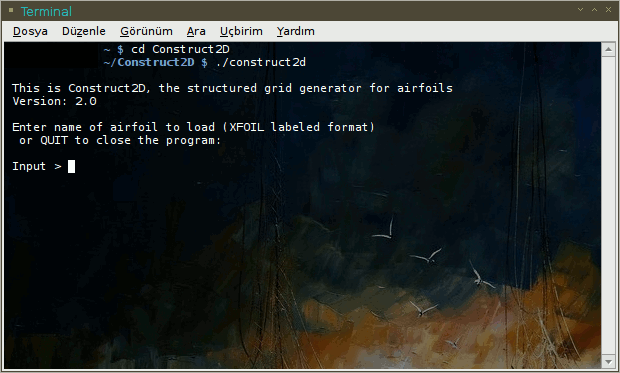
Figure.1) When the Construc2D runs it asks for input file. So the *.dat file that contains the section data must be supplied.
The input file format used by Construct2D is the same as that used by XFoil. It is recommended that input airfoils have a chord length 1 and a leading edge at x = 0.0. For the demonstration purpose the naca64a413.dat file has been used here.
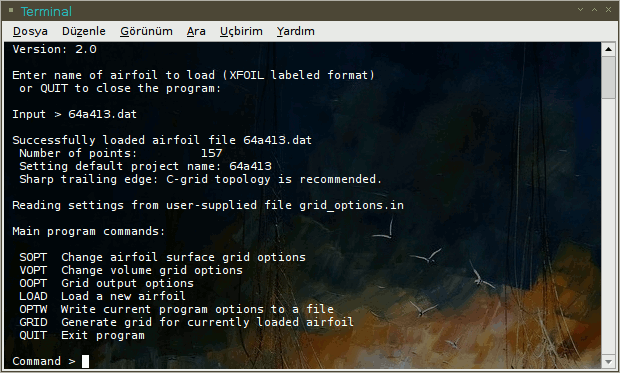
Figure.2) When the input file supplied working options is available.
As seen on [Figure.2] command line menus and sub-menus can be used in straightforward manner. Each command is given a short description in the main menu for the code, but they are also described in more detail in user manual. First three options controls all of the grid parameters and "grid" command writes the grid data to a plot3D file which may be imported by wide range of CFD codes. When the grid generated, a script can be run for visualization and inspection of the grid. The command for the script is "./postpycess.py". It has also no GUI and works in a similar way as Construct2D code. All pictures below have been produced via this python script.
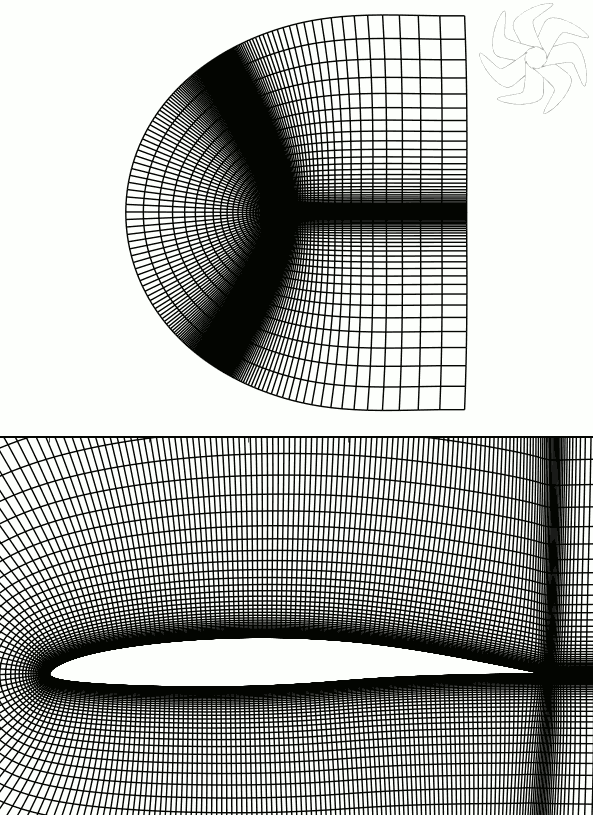
Figure.3) A C-grid for the naca64a413 section and the close-up view. For this case Re=3,2e06 and yPlus= 1.
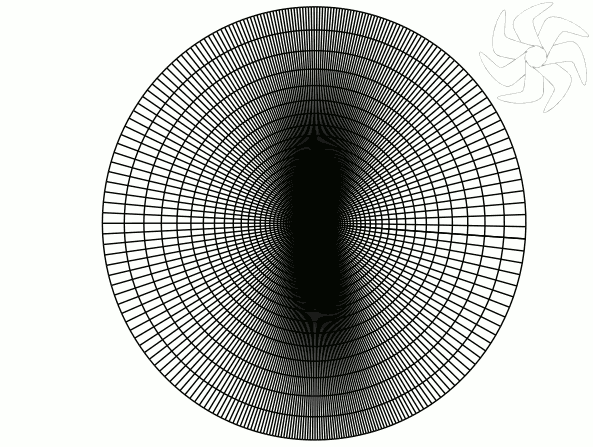
Figure.4) A O-grid for the same wing section.
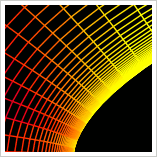
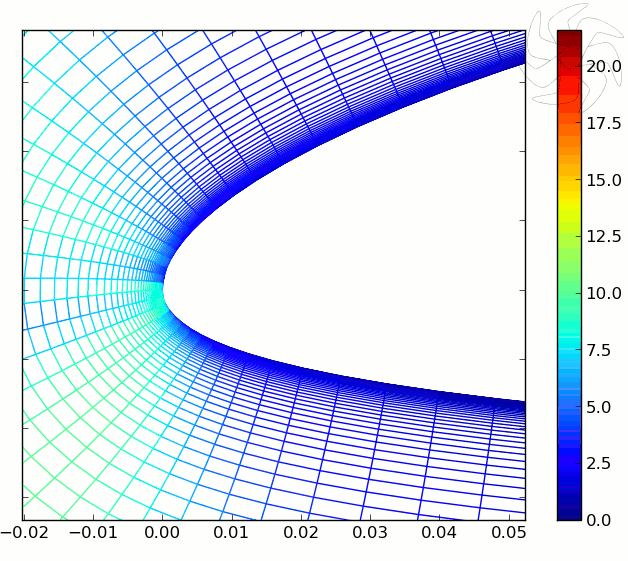
Figure.5) A view for the skewness analysis around the leading edge of naca64a413.
Features of Construct2D
Howto import Construct2D generated mesh to OpenFOAMSome visitors ask about this question so here is the description which is pretty easy, straightforward and efficient. Once you have successfully generated the mesh with Construct2D it writes a plot3D file and this is only what you need. 1. Generate the mesh in construct2D as usual, you get "yoursection.p3d" file. 2. Copy the "yoursection.p3d" file to the root of your openfoam case. 3. Run this command in the terminal without a polyMesh directory the case: (I assume you are importing a 2D case with one cell thick otherwise the command must be used accordingly for a 3D case) plot3dToFoam yoursection.p3d -2D 1 -singleBlock -noBlank now it is imported in the openfoam but not finished yet, 4. Run this command in terminal: autoPatch 80 -overwrite Now importing is ok. Just check the geometry via paraview and note the autogenerated patch names. If you are importing an O-grid there are four patches (five for C-grid) so now you can configure the initial boundary conditions for U, p, nut etc. according the patch names easily. If you want to import a 3D mesh generated by extruding in z direction you have to use a little different command: plot3dToFoam e387-e-deney.p3d -noBlank and the rest is the same as 2D case... Happy simulations... References1. Construct2D web site: https://sourceforge.net/projects/construct2d/ |
